How to Make Gaming Highlights
It’s the dream for a lot of gamers: a way to make money playing video games. Aside from working as a game tester, the other (and potentially much more lucrative) option is to stream your gameplay and attract fans willing and eager to support through donating or buying your merchandise, along with posting gameplay videos to your YouTube page and earning money through advertisements, or through Twitch earning money through subscriptions as a Twitch Affiliate.

But if you’ve never done it before the first question that you’ll likely ask is how to record gameplay on PC. The natural question is ‘which gameplayer recorder should I use?’ The truth is that there are in fact many options available for you to record your gameplay. The simplest method is likely to just use the software that comes with Windows and macOS. Either of these game recorders will work, although generally speaking we’d recommend that you use a more specialized third-party software.
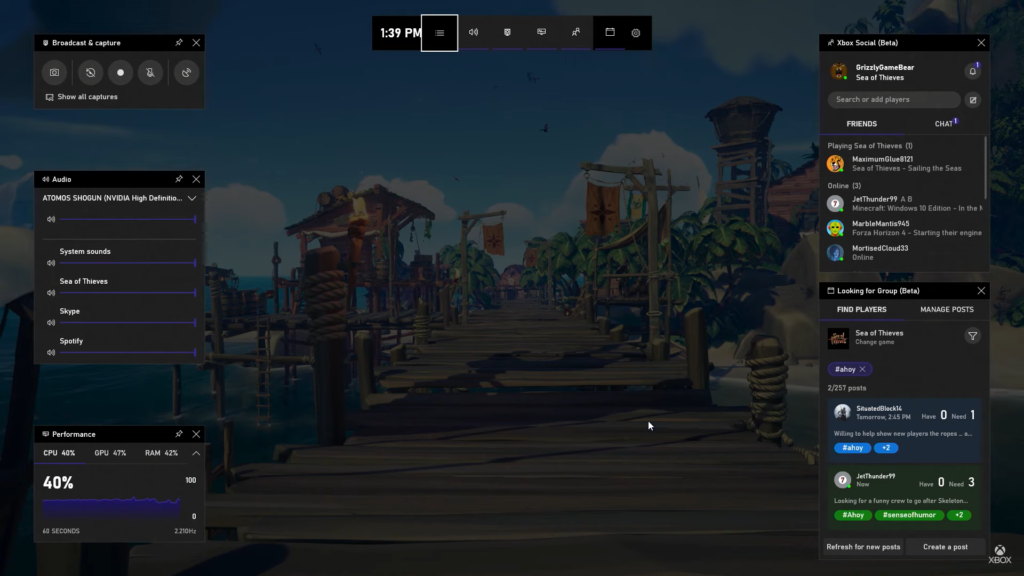
If you have a PC, you can use Game Bar as it comes with Windows 10 and 11. You can find it easily by searching for ‘Game Bar’ in the search bar or just hitting Win+G. To take a screenshot you can hit Win+Alt+PrintScreen, and can start and stop recording by pressing Win+Alt+R. This Windows program will easily record your games that you are playing on your PC. However, it does come with a downside as it may capture screen activity from other applications. It also has a lot of flaws with its reliability as it often fails to open, and with its usability because it can only stream to Microsoft’s own game streaming platform, Mixer. Not being able to stream directly from the recorder to YouTube or Twitch is a pretty serious limitation. That being said, it is completely free (other than the cost of Windows) so perhaps the old adage ‘you get what you pay for’ applies here.

If you use a Mac and your macOS is 10.14 Mojave or more recent, then you already have a decent game recorder. To start-up the Mac screen recorder, just press Shift+Command+5. Using the bottom toolbar you can toggle whether it records the entire screen, or just the selected window, or even just a selected portion of the screen.
Aside from the gameplay recorders that most likely come with the OS that you’re using, you can go for various different third-party softwares, like VideoProc, OBS Studio, or Bandicam. Additionally, many GPUs (graphics processing unit) include game recording software, like AMD Radeon ReLive and Nvidia GeForce Experience. Really, none of these are vastly superior to any other, they’re all pretty much the same, just with differences in UI and some minor features. Which one you use often will just go according to your personal preference.
That’s just the basics. Once you’ve got started, the next natural question to ask is how to make gaming highlights. First, what is a video game highlight? These are going to be the moments that are the most exciting or interesting in some way for viewers. This could be when you have a stunning victory or even an embarrassing defeat. It could be a moment of genuine emotion for both you and your viewers. Maybe it’s unexpectedly discovering a rare bug or exploit. The point is that it’s the moment where you are the most likely to earn a new fan, which is your ticket to growing a community around your streaming channel. Building up that base of fans will be critical to earning enough to make a reasonable living as a professional streamer.
It should go without saying that in a 5-hour stream not every single moment is going to be a rocket of excitement. There will very often be moments where you’ll be sitting in loading screens or in menus. During a livestream this isn’t a bad thing because it’s a good moment for viewers or streamers to take a break, or for the streamer to read through the chat window. While it’s not necessarily a bad idea to repost the livestream video, your time may be better spent posting a video of the best highlights.
So how do you create a gaming highlight? For a long time you effectively had two options. The first option of course would be to edit the video yourself. When you’re new to this kind of thing that’s going to be a serious challenge because you are going to be competing with people that essentially are already well established, and who have already bought the software and mastered how to edit videos themself. Not to mention that the software may be expensive for you, and may end up being too difficult to use for you, or too time-consuming to learn how to use it. So naturally, the second option is to pay someone else to do it. Aside from being an added expense, it does make you somewhat dependent upon someone else, meaning there’s the possibility that the production line might be delayed or stop entirely and you’ll be without an edited video. Then you’ll have to spend time trying to find a new editor, and start all over from the beginning building that relationship. That’s a hassle.
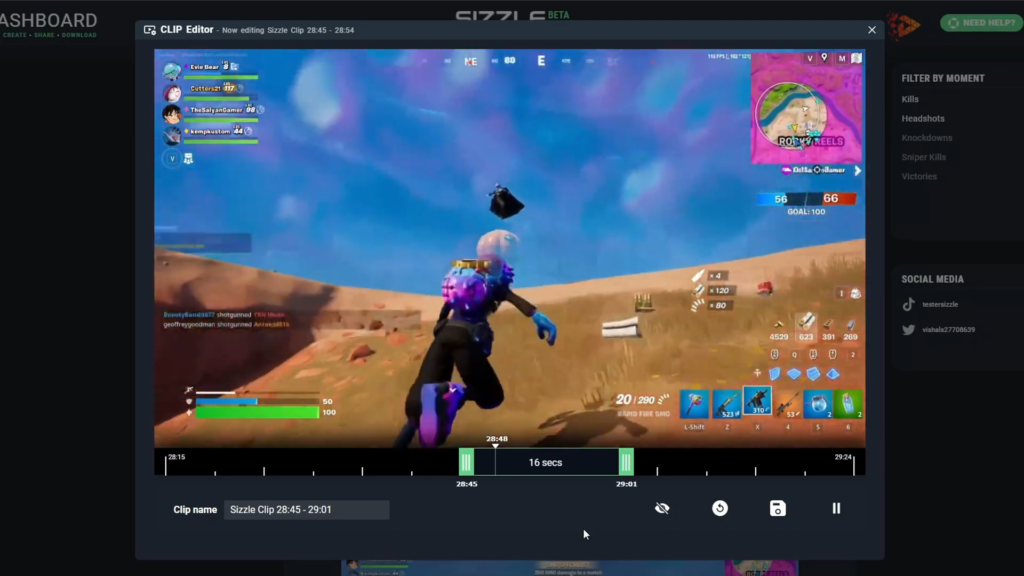
The good news is there is another option! And that’s to check out Sizzle.gg, a new innovation in the field of video game streaming. Sizzle.gg can easily detect when a good highlight happens in your stream and then automatically edits your videos and creates a new video of all that stream’s best video game highlights.

Sizzle.gg is compatible with almost all the games that are most popular among streamers, including VALORANT, Rocket League, PlayerUnknown’s Battlegrounds (PUBG), League of Legends, Overwatch 2, Fortnite, Call of Duty: Warzone 2.0, and Apex Legends, and is constantly working on expanding that list to more games. Sizzle.gg is currently in open-beta and therefore the service is completely free in exchange for your helpful feedback in order to improve the service for future users.
If you are interested in making it easier to edit the best highlights of your video game streams, you don’t have any reason not to try it out! Create an account on Sizzle today!


